Instructions
- Use the classroom computer for Zoom or Panopto as it is connected to the camera. Please do not try to unplug the camera from the system to use with your personal laptop as this may cause problems for the next person using the space.
- Use the touchscreen to turn on the projection system in the room and choose Computer as your input. You can also control volume and choice of speakers from the touchscreen
- If the computer is off, find the POWER button in the cabinet and press it.
- You will be asked to choose between Windows and Mac OS – choose what you are more comfortable with.
- Use the computer as needed – note that anything you save to the computer will disappear at night, unless you are saving it to the SCRATCH DISK.
- To get the files you need in class, consider adding them to Moodle or to your Google Drive.
- If you are using Zoom on the classroom computer, make sure you are logged in as the current Zoom user – check in the top right corner of the application window. If someone else is logged in, you must log this person out and then log in, using the SSO option. This is important as you can only be logged into Zoom on one computer at a time, and these days it is very likely that the logged in user will start a Zoom meeting while you are teaching, kicking you out of your Zoom meeting.
- The camera can be moved to focus on you, the board, or the students. Simply turn its head up to 180 degrees.
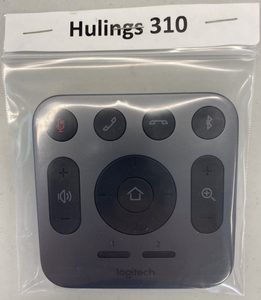
- Each camera has a remote control that allows you to zoom in and out, adjust the lens, and focus differently. (see picture right)
When you choose to focus on the chalk/white board, be aware that you can either zoom in to a small area for great clarity or cover a larger area but students will have a harder time reading the board in a recording.