What You’ll Need
- Hardware
-
- Windows Computer 7 and Up
- SBIG STT-8300M & its FW8G-STXL (should be one package in the lab. Has a power cable and a data cable attached to it)
- LX200 8″
- Keyspan Tripp-Light Serial-to-USB Adapter (Link)
- There should be a box of these in a box on the shelf on the South Wall of the lab
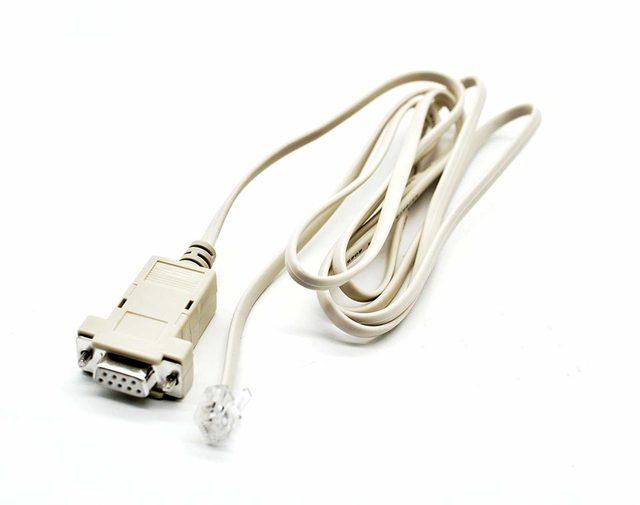
- RS232/RJ11/12 to Serial (one goes into mount, the other into the Keyspan adapter)
-
- Software
Testing Connection
I highly recommend testing your connection indoors first.
- Telescope
- Mise en Place Have your Keyspan adapter and serial adapter connected. Everything powered on and ready to go
- You don’t need to go through the polar-alignment method for this, you can “menu” out of those steps
- Plug the RJ12 connection (phone-jack looking connection) into one of the RS232 ports on the mount (I always use the right port but either one should work). Plug the USB cable into your computer.
- Open the Meade Autostar Updater and click Connect. This will be your test to make sure the connection is good. At the bottom left, it will tell you if you have established connection
- If you can’t connect on first try, go to (I think) Tools > Select COM Port then test out all of the options
- Mise en Place Have your Keyspan adapter and serial adapter connected. Everything powered on and ready to go
- Camera
- Check the SGP Section for this
Setting Up
- Hardware
-
- Follow Normal Setting up Procedure
- Align Finder Scope & Telrad (Though, I don’t always follow my own advice…Do as I say, not as I do), Polar Align, Slew to General area of target
- If you’re autoguiding, I assume you already have much experience with un-guided imaging so I won’t need to warn you about camera collisions with the mount.
- Plug RJ12 Cable into RS232 port on Mount.
- While setting up the telescope, have the camera powered on and connected to the computer. You can use this time to cool down the camera. See #1 on Software Setup
- When you’re ready, attach the camera to the telescope.
- Follow Normal Setting up Procedure
- Software – SGP & PHD2
-
- Open your Sequencer and connect to the Camera and Filter Wheel (DO NOT connect to the telescope here)
- Use Frame and Focus to get the right focus and composition
- Open PHD2 and connect to your equipment
- If the stars don’t look in focus, that’s okay. You can use the knobs on the Filter Wheel to try to get better focus but I’ve never had much success. (Manual)
- Select your exposure time (2 seconds is fine). Auto-select a star. Hit Guide. PHD2 will run its calibration; this will take about 8 minutes (I think?).
- At this point, you will see your guide graph at the bottom (if not, go to View > Graph to show it). “Good” guiding is sub 1″ Total RMS. “Amazing” Guiding is less than .2″ Total RMS. More than 1.1″ RMS and you’re super-1 Minute exposures will show trailing.
- You can run Guiding Assist to provide suggestions of settings to change if guiding is not great. This will take like 15 minutes? maybe? idk…I don’t remember haha
- I have also found that lowering the guiding history averaging from 10 to 7 could help
- Now go back to SGP and test what your exposure length will be using Frame and Focus. Once you know what a good time is (I usually do 150-180 subs depending on the night), you can setup your sequencer.
- Fill in the runs you will do (Type (Light & Dark), Filter, Exposure Length, Binning, Number of Exposures) and hit Start Sequence.
Sequence Generator Pro
SGP is a very powerful program. There is a 45-day free trial. After that, it automatically changes to the “lite” version (I haven’t gotten to this point yet so I’m not sure how limited it is). Otherwise, it is (at the time of this writing) $100 for the Pro Version. Due to its power and feature-set, it also is a very complex program. Here are basic steps to get started with this but I urge you to do your own research to make the best of this software.
- Control Panel
- This is where you will set up your profile